
Hand Spinning, Natural Dyeing
Friday 20 May 2016
Green to Dye For - Nettles
Please see this blog post on my website blog at :https://www.highlandcolours.com/blog
Friday 6 May 2016
Thursday 24 March 2016
Build Your Own Rug Loom
For more of my blog posts please go to https://www.highlandcolours.com/blog
My rug loom is inspired by a recent trip to the Ulster American Folk Park in Omagh which is set up as an Irish village on one side and the 'New World' on the other. A living museum telling the story of three centuries of Irish emigration. There are a variety of old spinning wheels in the houses dotted about the park.

The 'weaver's cottage' houses a large floor loom, which originally would have been built into the floor. The upright beams of the loom would have been sunk down into the earthen floor for stability.


The wall mounted warping frame in the weavers house is pictured below.


The peat fire smoke was blowing back into the room in the picture below.


Rag rugs have been used here and there in the Folk Park, but only in the 'New World' houses which have wooden floors. The Irish cottages would have had earthen floors, one of which is still in its original condition. But just looking at it, one can imagine how hard it would have been to have kept a rug clean on such a floor with the continual rain outside, lack of adequate heating and generally damp conditions.
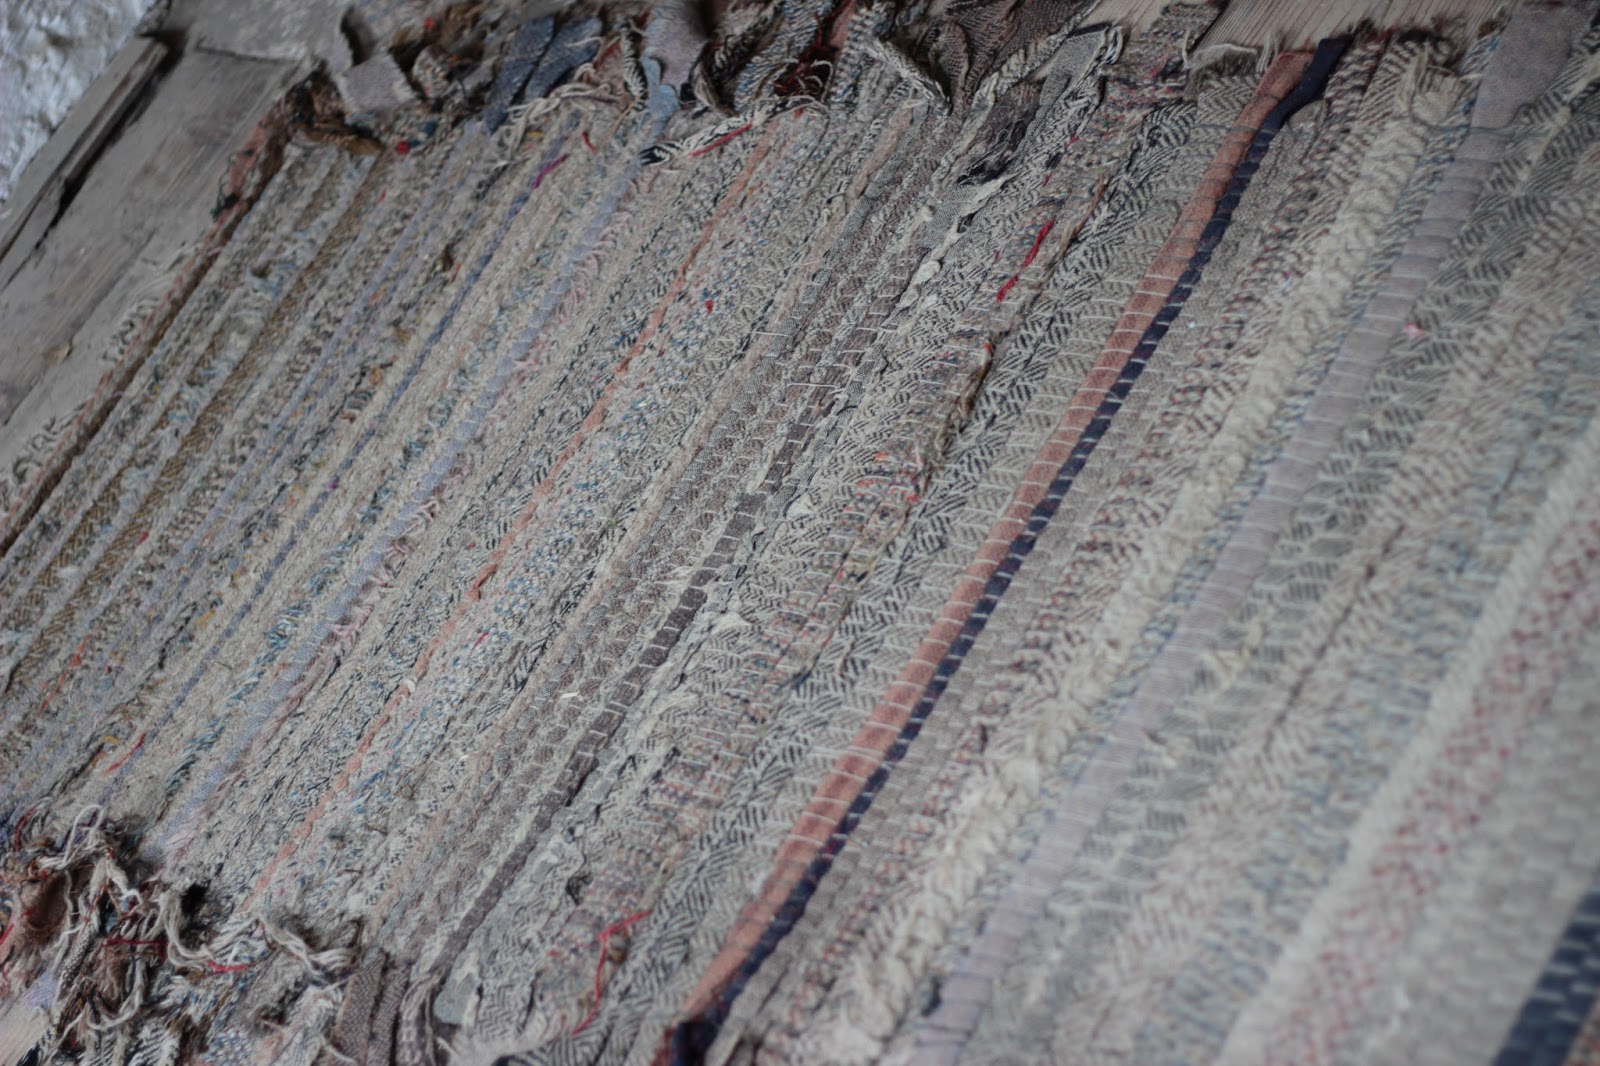

I usually weave rag rugs on my Glimakra floor loom. The 'Ideal' is adequate, but not as good for this as the Glimakra 'Standard', which is just a much heavier loom altogether. You will need a great deal of tension on a floor loom to get a good rug made, and the heavier the loom, the better.
But this time I decided to build a frame out of oak off cuts. You wouldn't necessarily need to use oak, only that is what I had. Pine would do fine, so long as it will not bend. With this type of project there is not much tension on a loom like this though. It measures 28"x33", and I partially screwed in 1.5" wood screws every 1". That amounts to 25 screws x 32 screws. I didn't use any fancy screws, just Philips head wood screws. At first I thought I needed more expensive pan head screws, but it didn't make any difference. The back of the frame I strengthened with some small triangles of scrap plywood. You could use hardware, but there's no need as the plywood triangles do the same. In all, this 'loom' cost me about £2.

There are some lovely online examples of huge woven tee-shirt rag rugs made just like this, on enormous home-made looms, using hand-stripped tee-shirt 'yarn'. This weaving is done just like the small pin-loom squares. Check out my pinterest where I have pinned some examples.

For this project, I used 'tek tek' yarn, available on ebay. There are a variety of tee-shirt yarns available. It obviously makes the project more expensive to buy in yarn like this, but you can achieve a really interesting rug with recycled tee-shirts of your own. Check out how to make your own tee-shirt yarn here
Warning: it takes a lot of shirts to make a rug!

I used 2 colours, hot pink and bright turquoise. The instructions for this are well covered online. Here's one example I found on youtube. I had to double up my 'yarn' for the spacing on this loom, but you can experiment with what you have. Start by cutting a slit in the yarn, and hooking over a screw. I ended the same way, by cutting a slit.


Weaving can be done by hand, no shuttle needed. This rug took me about 2 hours to weave including the binding off, which was done with a large crochet hook. You could do it quicker than that as the video shows, once you know what you are doing.

When off the loom, the rug pulled back quite a bit because the tee-shirt fabric is stretchy. I washed this straight away to pre-shrink it, which pulled it in even tighter. It now measures 18"x23", which I consider to be a perfect size for a bath mat.

This rug took about half a spool of each colour to make.

Subscribe to:
Posts (Atom)